Setting up your first freshwater aquarium is one of the most rewarding things you can do as a new hobbyist. It is also one of the most misunderstood. Most beginners walk into a pet store, buy a tank and some fish the same day, and wonder why everything dies within a week. This guide will prevent that.
Follow these steps in order. Some take minutes, some take weeks. Respecting the timeline is the difference between a thriving tank and a frustrating cycle of dead fish and cloudy water.
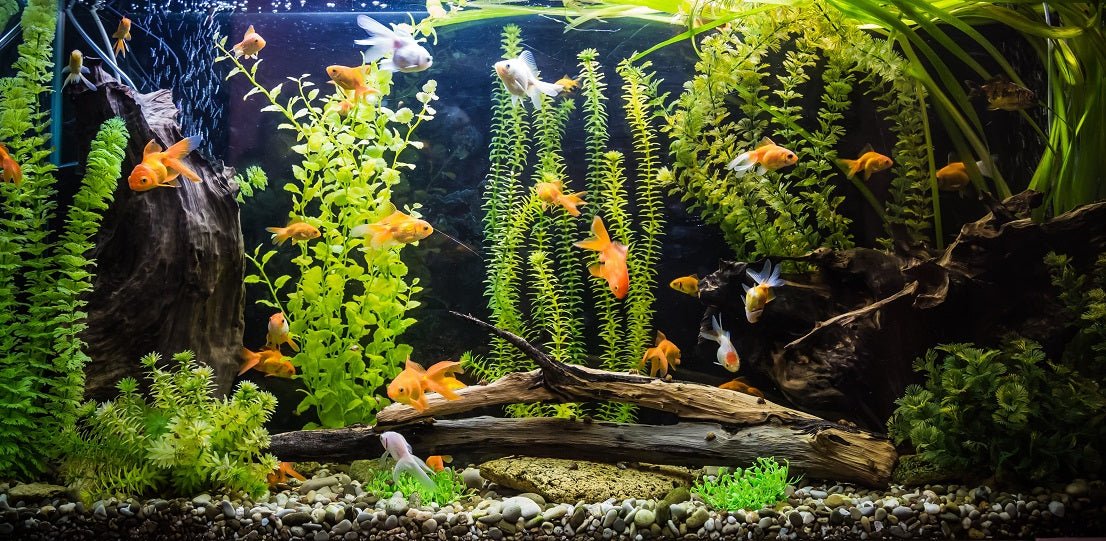
Choosing the Right Tank Size
Bigger is almost always better for beginners. A 20-gallon tank is the sweet spot: large enough to maintain stable water chemistry, small enough to fit in most rooms. Avoid the temptation of a cute 5-gallon "starter" kit unless you plan to keep a single betta. Small tanks swing in temperature and water quality much faster, which punishes inexperience hard. Buy the largest tank your space and budget allow.
Picking the Right Location
Place the tank on a level, reinforced surface away from direct sunlight and heating vents. A full 20-gallon tank weighs roughly 225 pounds with water, substrate, and rock. Make sure the stand or furniture can handle that. Sunlight causes algae explosions. Vents cause temperature swings. Once a tank is full of water, moving it means completely tearing it down, so get the location right first.
Rinsing Everything Before Use
Rinse the tank, substrate, rocks, and decorations with plain water. Never use soap or any household cleaner on anything that will touch aquarium water. Even a trace of soap residue can kill fish. For gravel or sand, rinse it in a bucket until the water runs clear. This removes dust and debris that would otherwise cloud your tank for days.
Adding Your Substrate
Pour in your rinsed substrate (gravel, sand, or a planted tank soil) to a depth of about 2 to 3 inches. Slope it slightly higher toward the back of the tank. This looks more natural and helps detritus collect at the front where it is easier to vacuum during water changes. If you plan to grow live plants, a nutrient-rich substrate like aquasoil is worth the extra cost.
Arranging Your Hardscape
Arrange rocks, driftwood, and decorations before adding water. This is your one chance to move things around freely. Create hiding spots and visual breaks in the tank. Fish feel more secure when they have places to retreat to, and a tank with structure looks far more natural than an empty bowl with a plastic castle dropped in the middle.
If you are using driftwood, be aware that many types will leach tannins into the water, turning it a light tea color. This is harmless and actually beneficial for many species, but if you want clear water, soak the wood in a bucket for several days before adding it, changing the water daily.
Filling With Water and Adding Dechlorinator
Place a plate or bag on your substrate to cushion the water flow, then slowly fill the tank. Tap water contains chlorine and chloramines that are toxic to fish and, critically, to the beneficial bacteria you are about to grow. Add a water conditioner (like Seachem Prime or API Stress Coat) according to the bottle's directions immediately when filling. Do not skip this step, not even once.
Installing the Filter and Heater
Hang your filter on the back of the tank or place it inside according to its instructions. For a 20-gallon tank, look for a filter rated for at least 30 to 40 gallons. Filters are rated optimistically. Set your heater to your target temperature (most tropical fish want 74 to 78°F) and give it 30 minutes to stabilize before checking with a separate thermometer. Heater thermostats can be inaccurate, so always verify with an independent thermometer.
Run the filter and heater, but do not add fish yet. The tank needs to cycle first.
Cycling the Tank
This is the most important step and the one most beginners skip entirely. The nitrogen cycle is the biological process where beneficial bacteria colonize your filter media, converting toxic ammonia (from fish waste and decaying food) into nitrite, and then into the much less harmful nitrate. Without established bacteria, ammonia spikes will kill your fish.
To cycle the tank, add a source of ammonia. You can use a few flakes of fish food, a small piece of raw shrimp, or a bottle of pure ammonia. A better method is to buy a bottle of bottled bacteria (Seachem Stability or Fritz Turbo Start are reliable) and dose it daily for a week while also adding ammonia. The cycle typically takes 4 to 6 weeks without a bacteria booster, or as little as 1 to 2 weeks with one.
You will know the cycle is complete when ammonia reads 0, nitrite reads 0, and nitrate is detectable. You cannot tell by looking at the water. You need a test kit.
Testing the Water
Buy a liquid test kit (not test strips). The API Freshwater Master Test Kit is the standard recommendation for beginners: affordable, accurate, and covers all the parameters you need: pH, ammonia, nitrite, and nitrate. Test the water every few days during the cycle and record your results. You are looking for ammonia: 0 ppm, nitrite: 0 ppm, nitrate: under 40 ppm, and a stable pH in the range your target fish prefer.
Adding Fish Slowly
Once the cycle is complete, add fish gradually. Start with a small group of hardy fish, like zebra danios, platies, or corydoras catfish. Adding too many fish at once overwhelms your filter's bacterial capacity and can crash your water quality. A good rule: add no more than a few fish per week, test the water a day after each addition, and only add more once ammonia and nitrite stay at zero.
When you bring fish home, do not pour the bag water into your tank. Float the sealed bag in the tank for 15 minutes to equalize temperature, then net the fish out and release them into the tank. Pet store water can carry disease and you do not want it in your system.
Doing Your First Water Change
Change 25 to 30% of the water weekly going forward. Use a gravel vacuum to siphon waste from the substrate during each change. Always treat the new water with dechlorinator before adding it to the tank. Water changes are the single most effective maintenance task in fishkeeping. They dilute nitrates, replenish minerals, and keep your fish healthy long-term.